We started by matching up the footage of the singer to the track, and ensuring that the lip-synching was accurate. Below you can see a screengrab of the timeline.
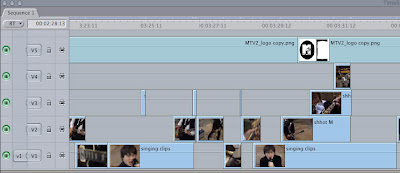 This shot shows the arrangement of the clips to keep the clips all in time - simply overlaying one over the other. This makes it much easier to lay clips into an order which matches the music without knocking other clips out of sequence or the singing out of time with the song.
The next part revolved around the intro of the song. The original song has a quiet, atmospheric intro, and so to accentuate this alongside the footage, we decided to modify the volume levels on the track a little to give it more of a fade-in than the original had. Below is the screen used to modify the sound levels of the track:
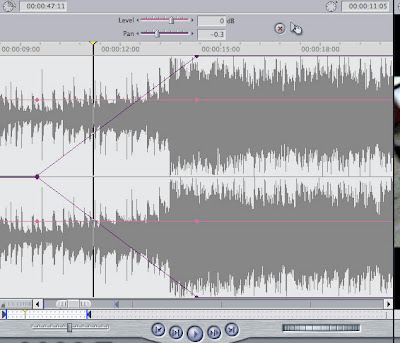
As you can see from this screengrab, the levels can be directly modified and the level and timing of the fade can be extended or retracted, and the pan option at the top of the screen allows the user to pan the sound to the left or right speakers, but this option isn't required by us.
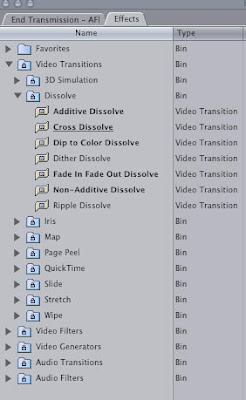
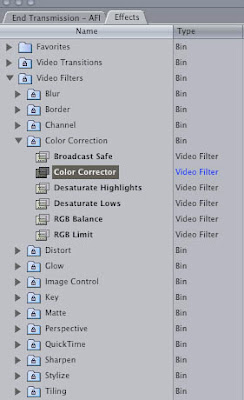
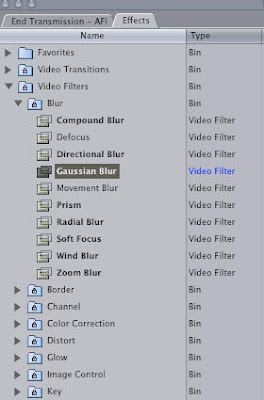 Next comes the application of several effects from the drop-down Effects menu, starting with the colour corrector overlay tool. Then comes the Gaussian Blur, which we will use for a section in the bridge to add a sense of mystery and etheral other-worldness into the action of the performance. Also, under the Dissolve catagory comes the Cross Dissolve section, which is used for the very start fade-in and the fade-out at the very end of the video. On the left are the screengrabs of these options as they appear in Final Cut.
Next comes an interesting effect that Mike has in mind, which involves assembling and gapping a selection of very short clips to create a very fast, blinking, almost strobe-type effect with the image. Below is a screengrab of how the clips would be layed out and the length of the clips in question to achieve this fast-paced effect.

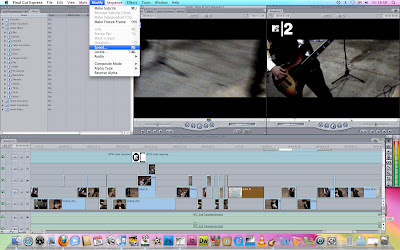
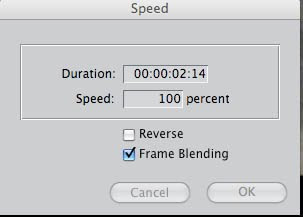
Our final addition is to modify subtly the very final shot of the video, where the singer throws his arm out to the right and spins to face away from the camera whilst still holding on to the microphone, before moving back to face the camera again. When we watched this piece of footage back, the singer moved to face the camera again a little too quickly for our liking, and it meant that the video sort of ended a little abruptly. We were loathe to use another shot to end the video on, so instead, we subtly modified the speed of the clip a little to make the singer's movement back to face the camera more slow-motion. Not only did this give the video a smoother ending, it also added a slightly etheral feel to the movement, as it blurred the image a little bit. The Speed modification option is brought up by bringing down the Modify menu at the top of the screen, as seen in the first screenshot below, and the second screenshot shows the screen that appears and the speed modification options available - the ability to change both the duration of the modification of the speed in the clip and the percentage of speed reduction (or increase).
More to come...

No comments:
Post a Comment